Tools needed
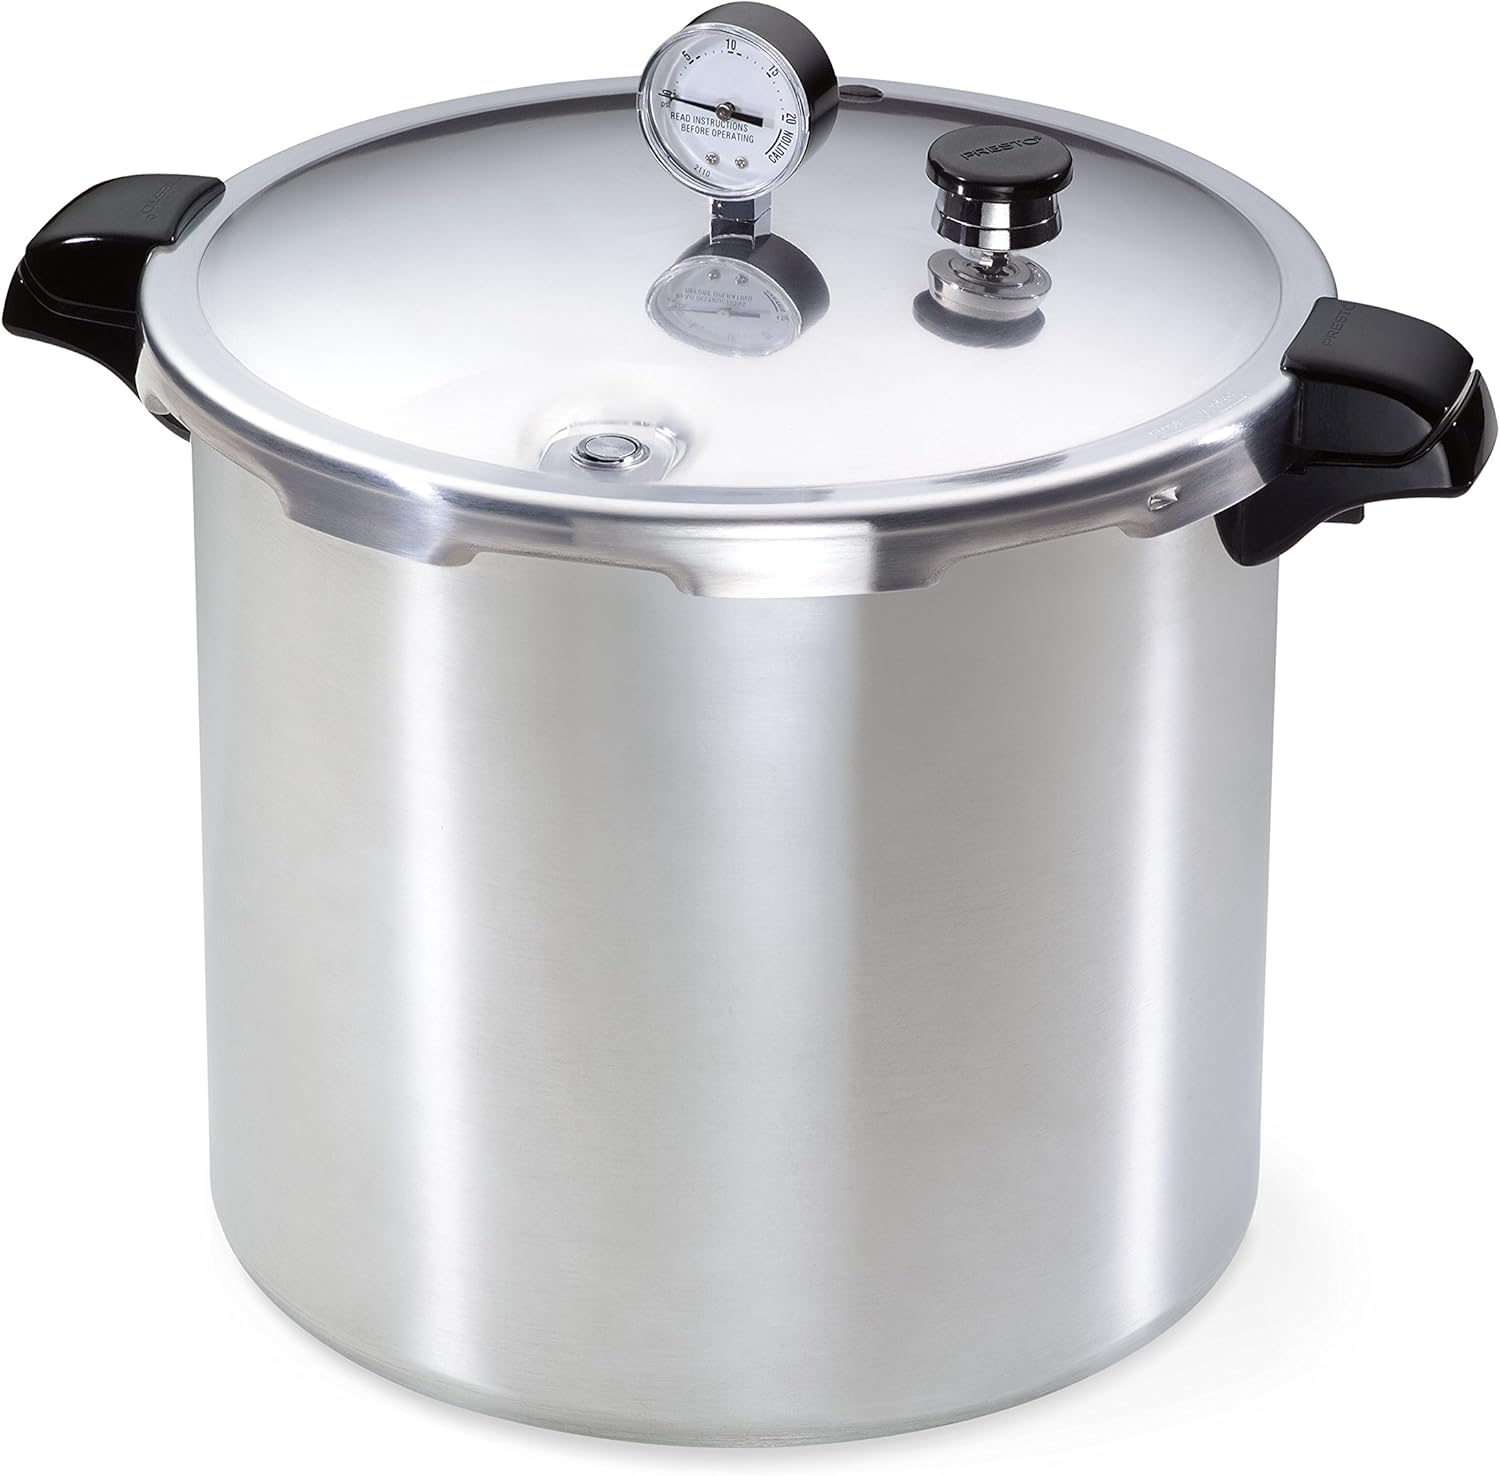
- Pressure canner (dial or weighted gauge)
- Jar lifter
- Canning funnel
- Bubble remover / headspace tool
- Large pot for blanching
- Ladle
- Clean towels
Materials needed
- Firm, ripe, disease-free tomatoes
- New canning lids and clean bands
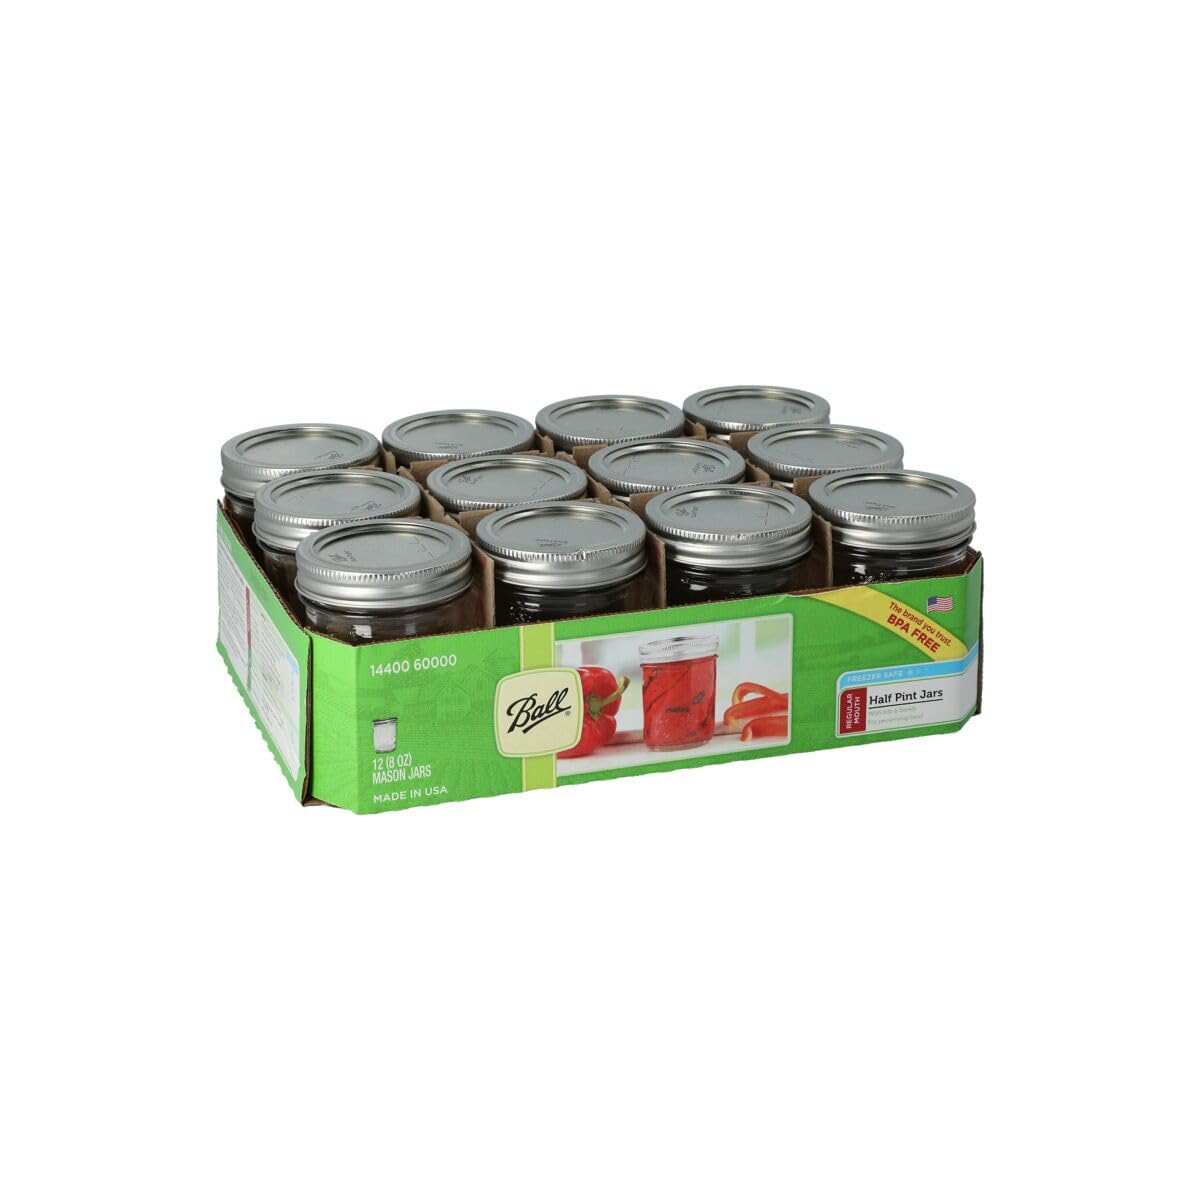
- Wide- or regular-mouth jars
- Bottled lemon juice or citric acid
- Canning salt (optional)
Step-by-step
- 1
Start with firm, ripe, disease-free tomatoes — never use overripe, cracked, or spoiled fruit.
- 2
Wash jars in hot, soapy water and keep them hot; prepare new lids per the manufacturer's directions.
- 3
Blanch tomatoes 30–60 seconds, plunge into ice water, then slip off the skins and remove cores.
- 4
Add bottled lemon juice or citric acid to each jar — 2 Tbsp lemon juice (or 1/2 tsp citric acid) per quart, half that per pint. This step is required for safety.
- 5
Pack the tomatoes (raw or hot pack), leaving 1/2-inch headspace; add boiling water or juice if your recipe calls for it.
- 6
Remove air bubbles, wipe the rims clean, set the lids, and screw bands to fingertip tight.
- 7
Load jars into the pressure canner with the amount of water your canner requires, then lock the lid.
- 8
Vent steam for 10 minutes, then bring the canner to the pressure and process time specified for your altitude and jar size.
- 9
Turn off the heat and let the pressure return to zero naturally — never force-cool the canner.
- 10
Wait 10 minutes, remove the lid away from your face, lift jars straight up, and cool undisturbed 12–24 hours before checking seals and labeling.
Common mistakes
- • Skipping the added acid — lemon juice or citric acid is always required, even when pressure canning
- • Reusing old lids, which won't seal reliably
- • Running cold water over the canner to rush the pressure down
- • Guessing the processing time instead of using a tested chart for your altitude
Maintenance & next steps
Store sealed jars in a cool, dark, dry place and use within about 12–18 months for best quality. Refrigerate any jar that didn't seal and use it first.
Consult your local extension service or the National Center for Home Food Preservation for altitude-specific times, and have a dial gauge tested each season.
Frequently asked questions
Do I really need to add lemon juice or citric acid?+
Yes. Modern tomato varieties can be low in acid, so tested recipes require added acid to safely can them — even in a pressure canner.
Can I use a water-bath canner instead?+
Water-bath canning works for properly acidified tomatoes with a tested recipe, but pressure canning gives a greater margin of safety. Whichever you choose, follow a current tested recipe exactly.
How do I adjust for altitude?+
Higher altitudes need higher pressure (or longer time). Use the altitude chart in a current USDA/NCHFP recipe for your jar size and canner type.
How long do home-canned tomatoes last?+
Best quality is within 12–18 months when stored cool and dark, though properly sealed jars remain safe beyond that.