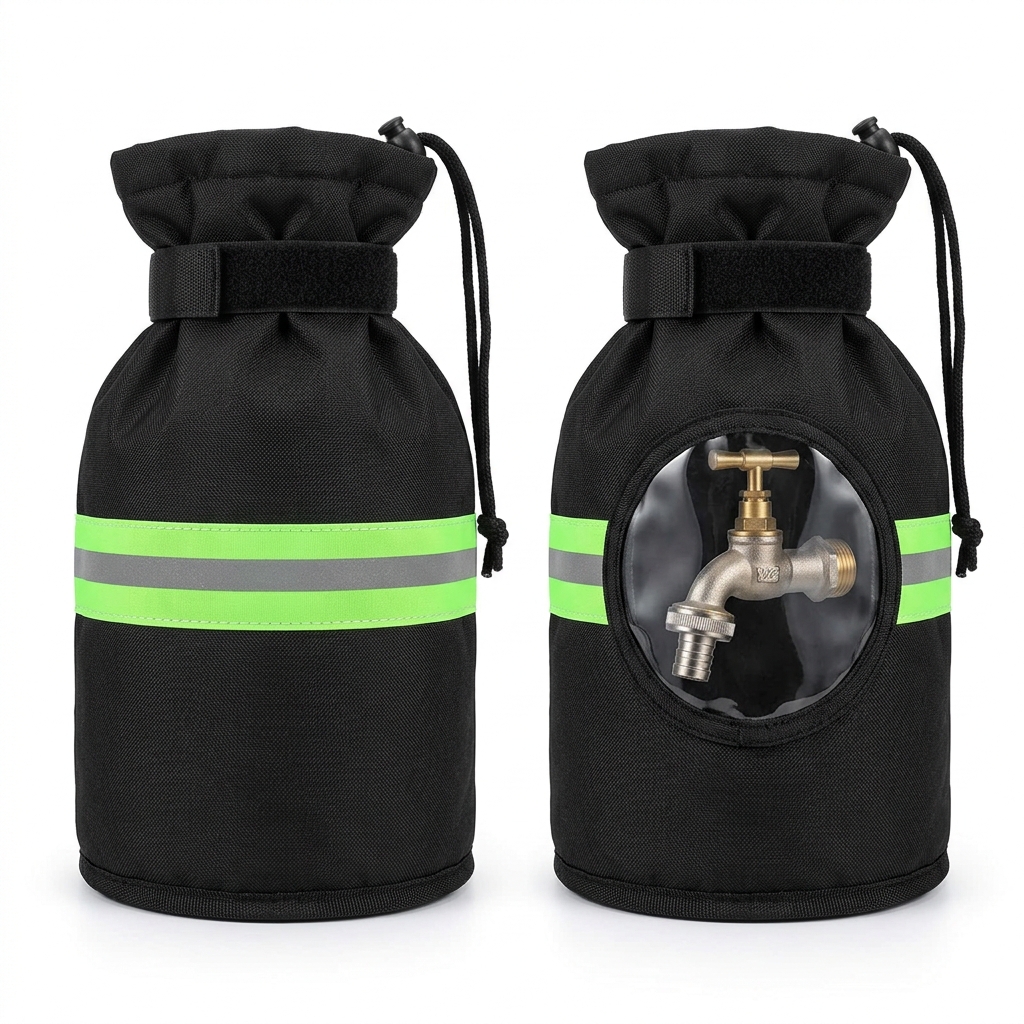
Tools needed
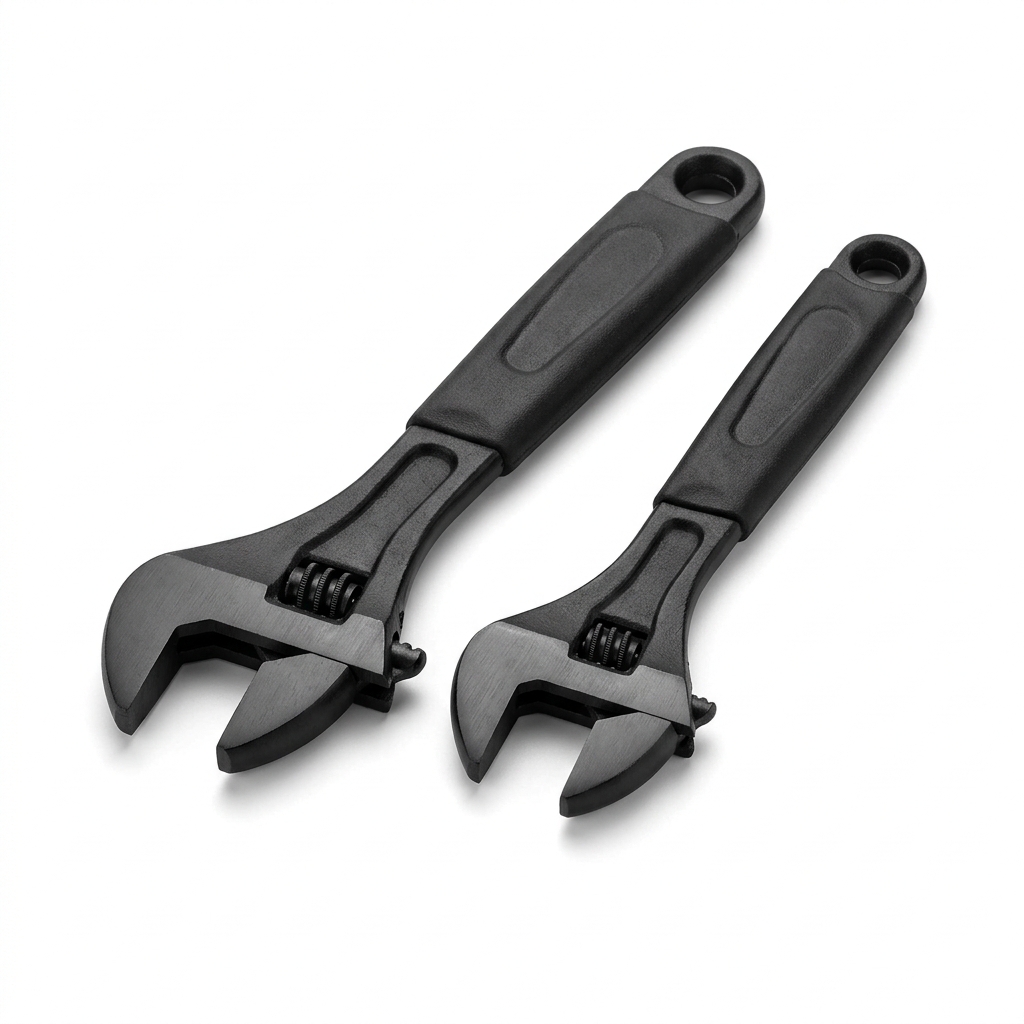
- Adjustable wrench (for stubborn, tight metal drain caps)
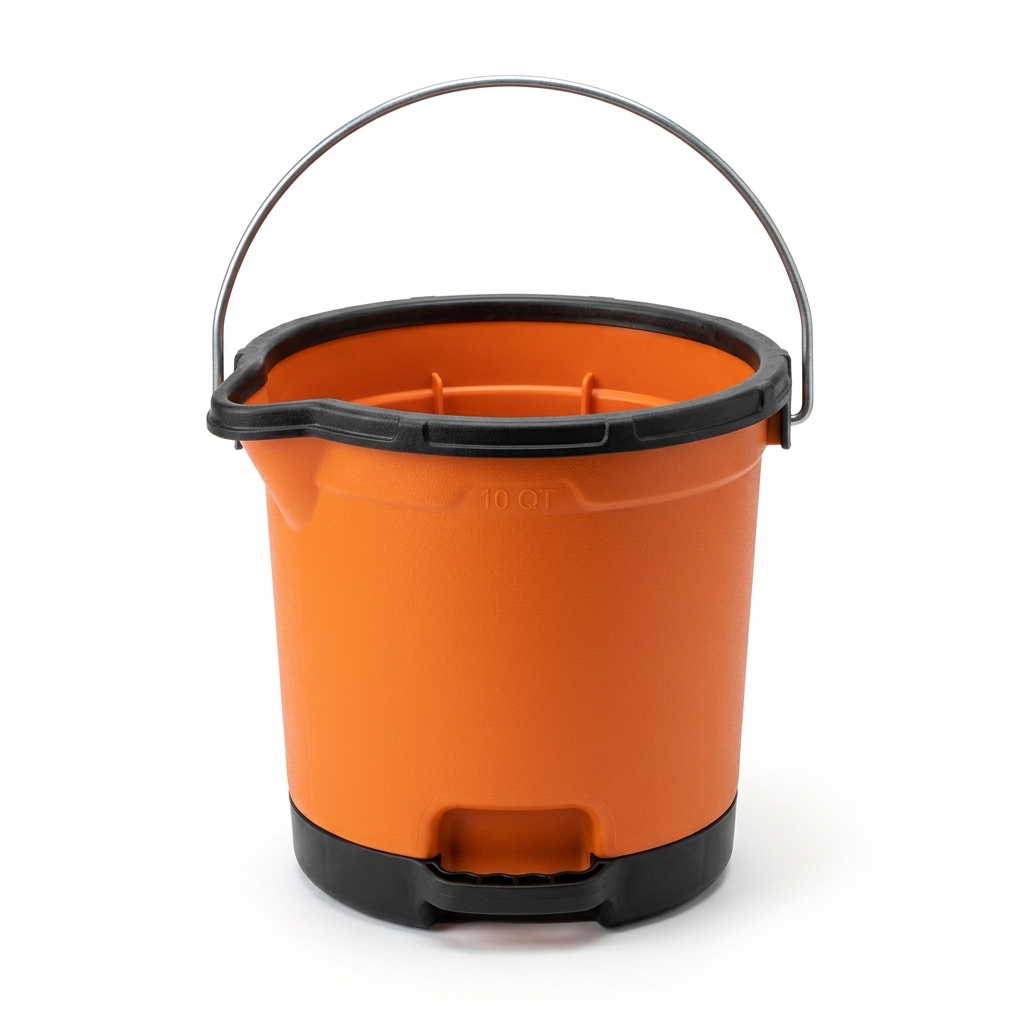
- Heavy-duty utility bucket (to catch draining pipe lines indoors)
Materials needed
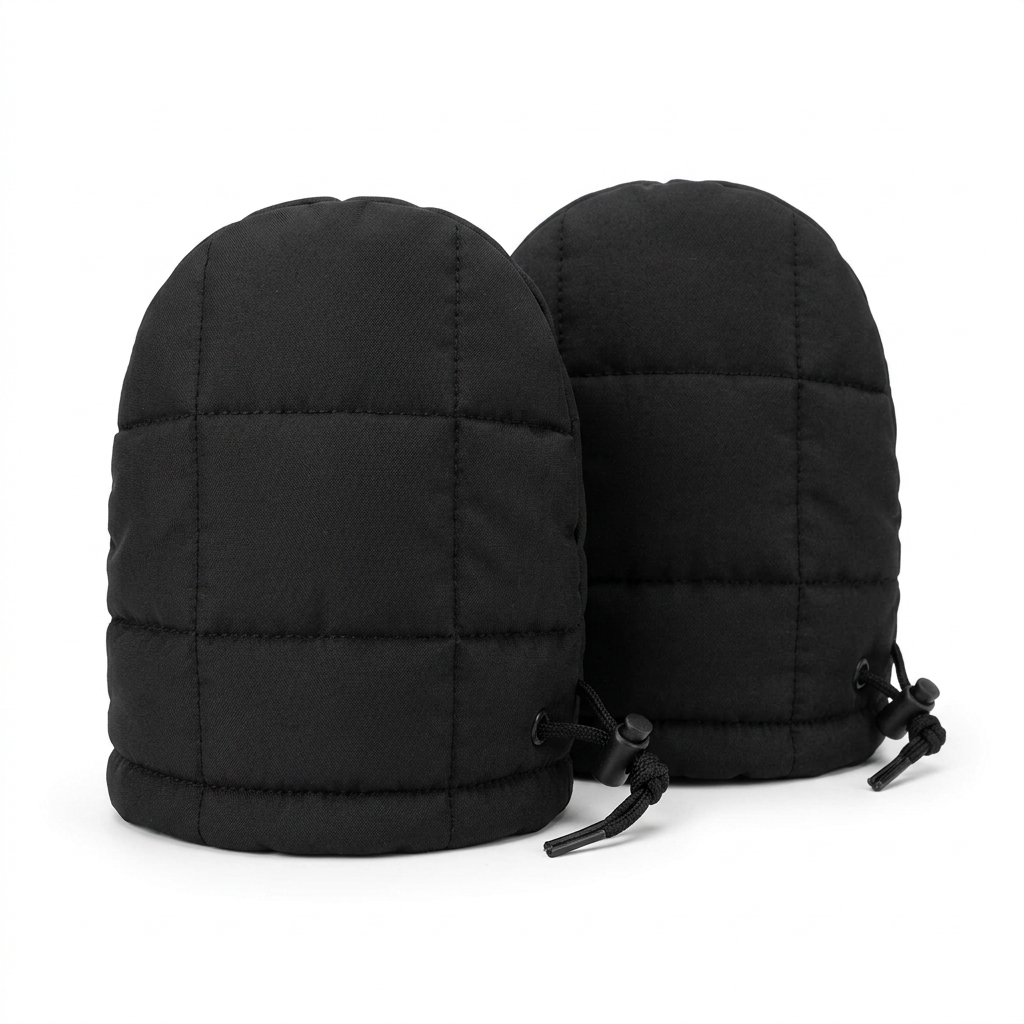
- Outdoor foam faucet covers / insulated socks
- Shut-off valves (for internal water line isolation)
- Freeze-proof sillcocks (optional permanent upgrade)
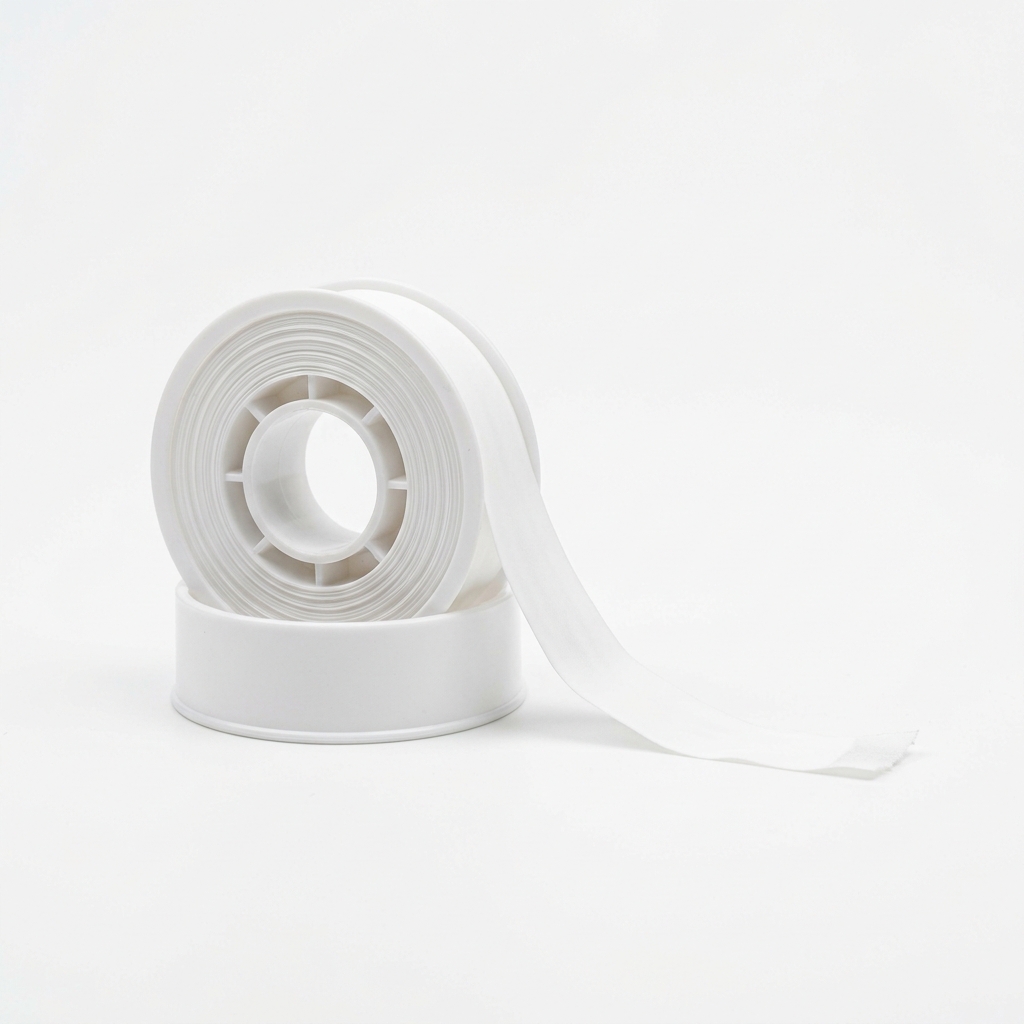
- PTFE plumbing thread tape
Step-by-step
- 1
Locate and Close Interior Valve: Find the indoor shut-off valve feeding your outdoor spigot—typically located inside your basement, crawlspace, or utility closet right before the pipe goes through the exterior wall. Turn the handle completely clockwise to shut off the water supply.
- 2
Open the Outdoor Faucet: Walk outside and turn your exterior spigot handle fully open. Let the initial rush of water drain out completely until it stops flowing.
- 3
Disconnect and Store Hoses: Disconnect all garden hoses, splitters, or plastic timers attached to the exterior spigot. Leaving a hose attached traps water inside the faucet throat, which will freeze, expand, and split the heavy brass casting inside your wall.
- 4
Open the Indoor Bleeder Cap: Head back inside to the shut-off valve you closed in Step 1. Place your utility bucket directly under it. On the side of that exact indoor valve body, you will see a tiny, knurled metal thumb-cap called the bleeder valve (see the schematic below). Twist this little cap counter-clockwise to loosen it. This breaks the vacuum seal, letting air into the line so all remaining water inside the wall drains safely into your bucket. Once dry, spin it clockwise to hand-tighten it back on.
- 5
Install the Insulated Sock: Head back outside and slip your insulated thermal faucet sock tightly over the exterior spigot, cinching the structural drawstring or strap completely flush against your home's exterior siding to lock out the cold winter air.
How the indoor shut-off valve, its knurled bleeder cap, and your utility bucket work together to drain the hidden water column inside the wall.
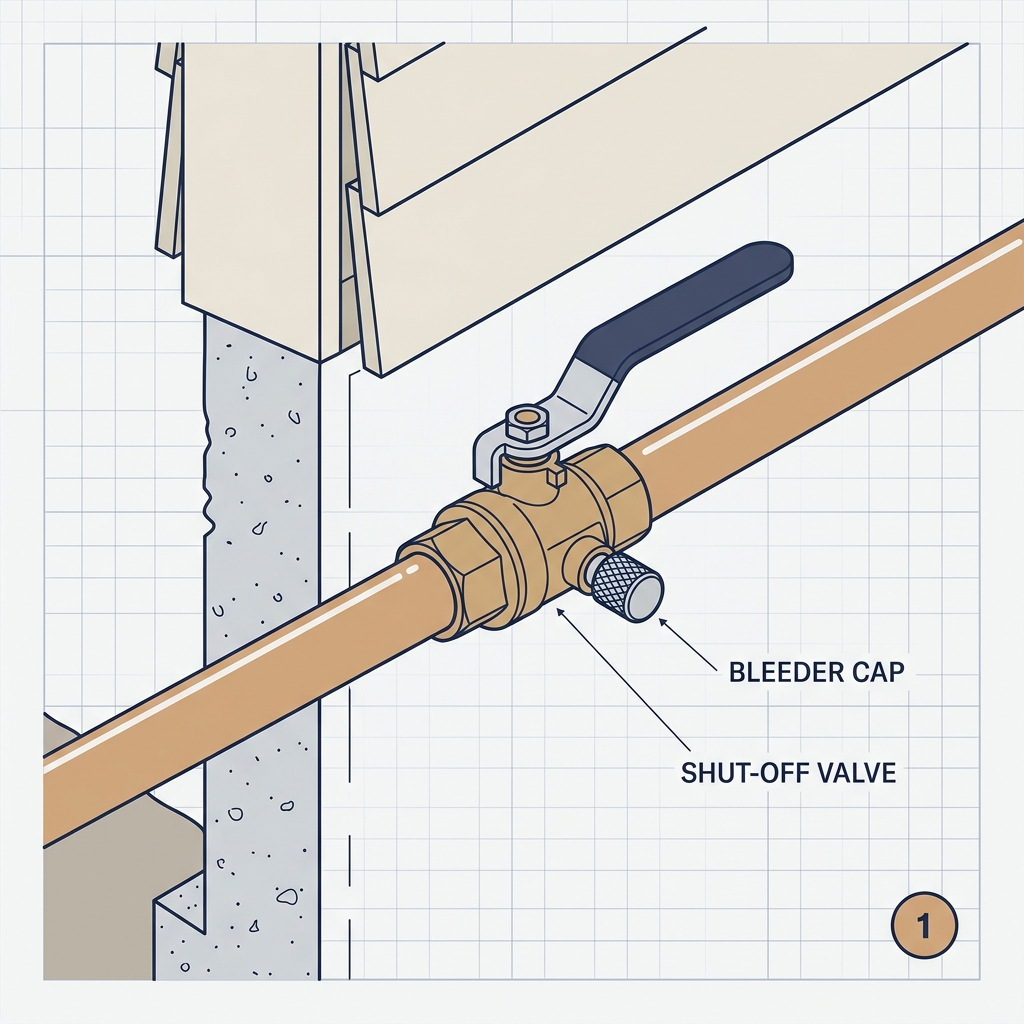
Shut-off valve and labeled bleeder cap on the indoor supply pipe
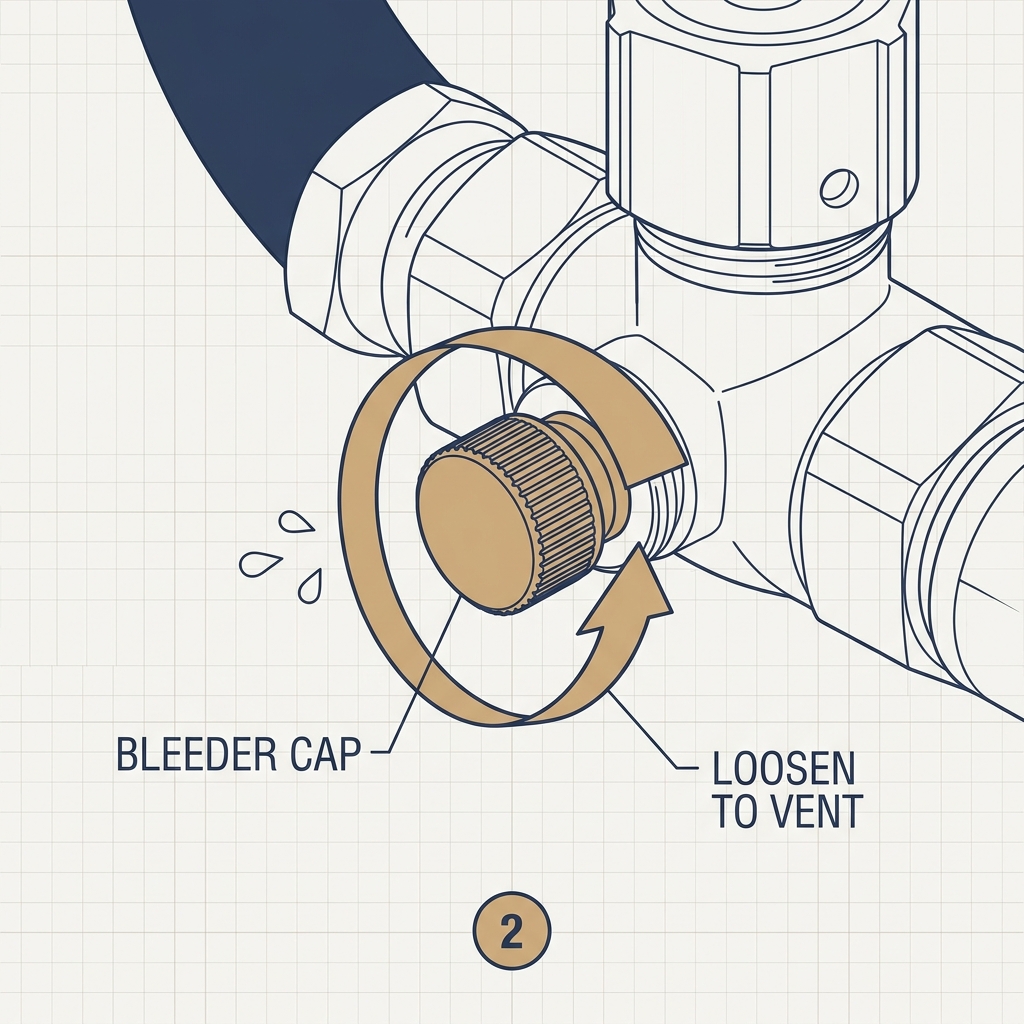
Loosening the bleeder cap counter-clockwise to vent the line
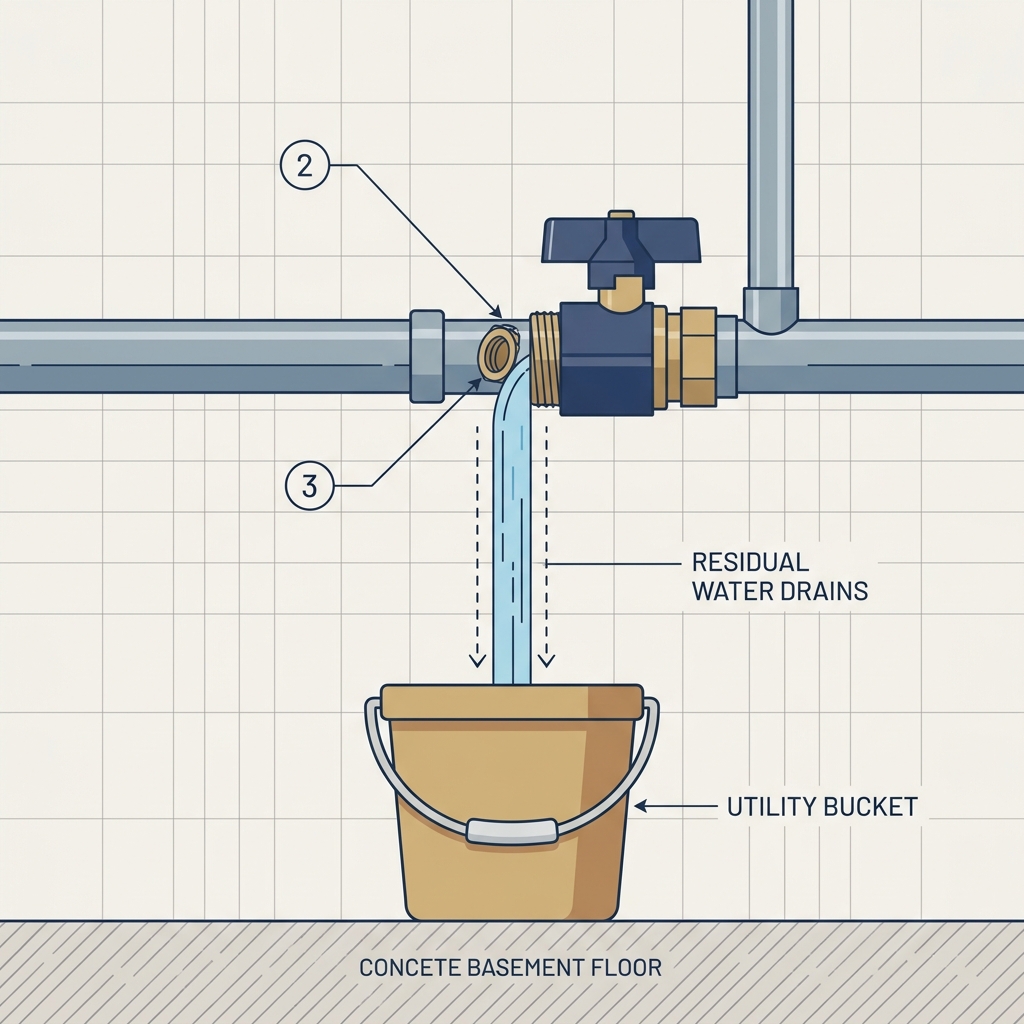
Residual water draining from the valve into a utility bucket
Common mistakes
- • Leaving a hose or plastic splitter attached over winter, which traps water and ruptures the faucet assembly.
- • Forgetting to loosen the indoor bleeder cap, which leaves a hidden column of water inside the wall line to freeze and burst.
- • Leaving the bleeder cap loose or missing after draining, which will flood your basement when you turn the main water back on in the spring.
Maintenance & next steps
Execute this simple plumbing winterization checklist every autumn before your region's first hard frost warning. Remove the exterior insulation socks, store them in your garage, and safely reopen your internal valves every spring once freezing weather clears.
For installing a frost-proof sillcock or if pipes are already damaged.